Introduction
FileMaker Pro has built-in support for importing data from ODBC data sources - including Sybase, MS Access, SQLite and PostgreSQL databases. This tutorial will describe the steps involved in importing data into an existing FileMaker database. Note that if you are using FileMaker to connect to Microsoft SQL Server, Oracle, MySQL, Postgres, or DB2, you should consider using the External SQL Sources (ESS) feature.
These instructions assume you have already downloaded and installed the appropriate ODBC driver for your database and you have configured a DSN (data source name). If you have not yet purchased a license key, you will only see the first 3 rows from any database query.
Please contact us at support@actualtech.com if you have any questions or suggestions regarding these instructions.
Importing from your sales database
Let's suppose you use a FileMaker database created using the Contacts starter solution. Your sales information is stored in a Microsoft Access database, and you want to import your sale force contact information into your FileMaker database. We will use the NorthWind example database, whose Employees table should map easily to the FileMaker Contacts database. Please contact us if you have any problems using the tables in your database.
To begin, launch FileMaker Pro and create a database using the Contacts Starter Solution:
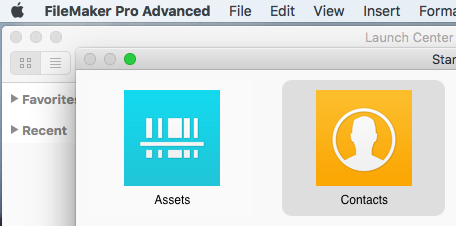
Give your database file a name.
FileMaker will display the default form for Contacts. The database will be empty - you may create a few records if you wish.
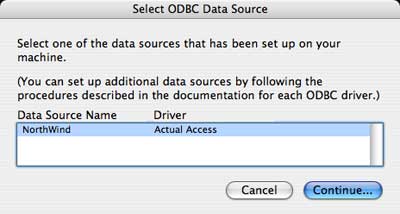
To begin importing records from your ODBC database, select File->Import Records->ODBC Data Source...
When the "Select ODBC Data Source" dialog is displayed, select the DSN that you configured previously using the ODBC Administrator, and press Continue.
If applicable, enter your database User name and Password in the Connect dialog box. For Access databases, just leave the User name and Password fields empty.
FileMaker will display a dialog box with a list of the tables defined in your database:
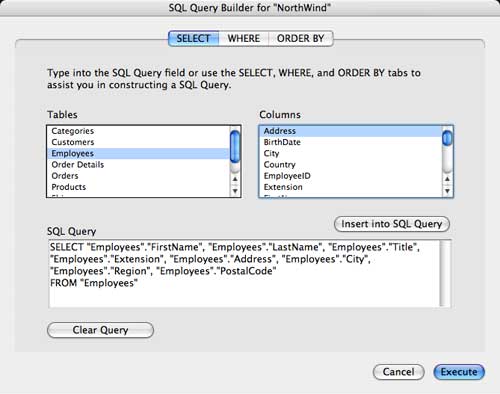
When you click on a table name, the columns defined for that table will appear on the right column. Double click on a column name to add that column to the SQL query. For this example, double click on all the columns of the Employees table. Then press Execute.
Next, FileMaker will display a dialog box where you can map the fields from the Access database to the fields of the FileMaker database:
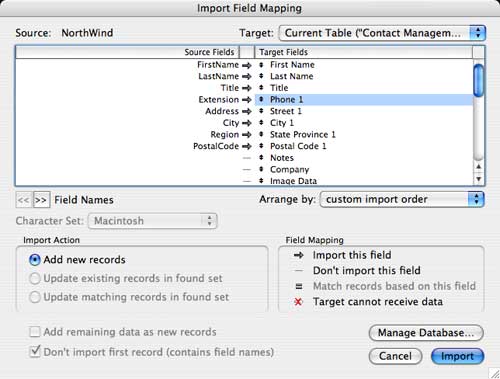
You can align the FileMaker fields to the Access fields by dragging the double arrow icon:

When all the fields are mapped correctly, press the Import button. Next, FileMaker will display the Import Options dialog:
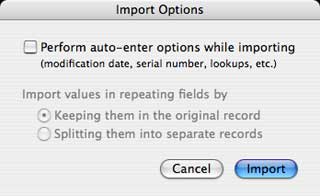
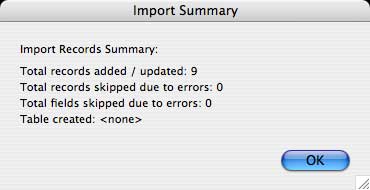
Press the Import button to continue. When all records have been imported, FileMaker will display a summary:
For more information
To learn more about the FileMaker database connectivty, return to our FileMaker Resource Center.

